

After being diagnosed with a rare autonomic dysfunction and heart disease in my 20s, I began researching and reading about what true healthy eating is. I discovered that for our goals, it wasn't about the newest food fad or weight loss diet but about truly healthy food for nourishment, energy, and growth.
 I realized we needed a more natural, homemade approach to our meals instead of the "sugar-free", "low-fat" processed foods marketed by the big food companies. What I wanted was a sustainable mix of my Grandma's style and recipes combined with the current trends of local and/or organic foods and whole grains. It was perfect, or at least the idea was perfect.
There were some challenges and differences. My grandma didn't home school, run a small chicken farm, she wasn't driving kids to martial arts, piano, and home school co-ops. Life moves faster now. She wasn't battling heart disease and dysautonomia. However, she also didn't have the luxury of the Internet with amazing online resources to assist her.
 I'll not fib and tell you I have this "whole foods" thing wrapped up nice and neat. What I will tell you is I do my best. Do we have weeks when my body gives out on me and my dear, sweet, overworked husband gets stuck handling the meals? Certainly! Does he create real food, homemade meals from scratch after working all day and handling MY side of the responsibilities? Heck no! Do we run late between our Thursday Co-op, chicken chores, and or mad dash to martial arts class? Yep! Do I panic and hit McDonald's (GASP!) sometimes when this happens? Sadly, I'm guilty. Do I let this hold me back any longer from trying to maintain a healthy, real food lifestyle on the other days? No way!
 Life is life, it's unexpected and we just have to roll with it! I have finally convinced myself that it's one step at a time and I can't take an all or nothing approach! I AM learning ways to prepare myself and avoid those obstacles. Cooking some of our favorite, whole food meals in double servings for freezing and taking advantage of our crock pot are two ways.
Finding my perfect, honey wheat, homemade, simple basic bread dough recipe and making it in triple batches is another way. As a matter of fact, it's also my most tried and true tactic to keeping things "real." I must admit baking my own bread was intimidating at first. Rising? Punching? Yeast? I was clueless in the beginning.

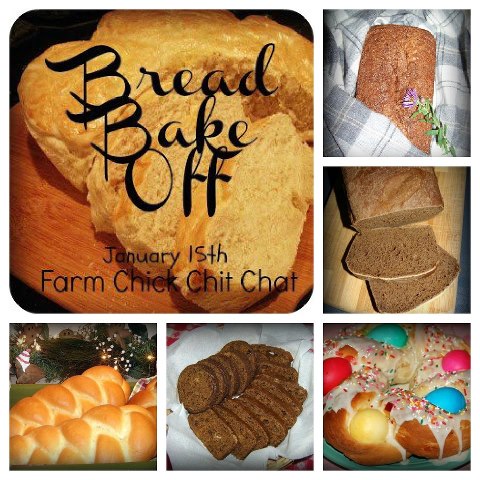
That's why THIS recipe, my friends, has become my honest to goodness stand by. When the Farm Chick Chit Chat ladies all decided we would have a bread bake off, I knew without a doubt, this was the recipe I would share.
 It's real food, easy to make, easy to freeze & bake later, tastes delicious (even after freezing it!), a great starter bread for your other rolls and recipes, and it's user friendly. Can you tell I'm proud of my bread? It's been a big hit here, at friends' homes, at baby showers, and with family's I've taken meals to. I generally make three loaves at a time and that lasts us approximately a week. I also send frozen loaves back to college with my baby sister every time she's home visiting and I know she's at least getting some whole grains in her diet. I love it! Okay, are you convinced to try it now? Let's bake some bread!
 The Egg Basket's Honey Wheat Bread

1 cup warm water (110-115 degrees F)
1 TBL milk
2 TBL Olive Oil (or coconut oil or any oil, I like the Olive Oil and it's heart healthy)
2 TBL Honey
2 TBL Brown Sugar
1 tsp Salt

1 1/2 c. All Purpose unbleached flour
1 1/2 c. Whole Wheat Flour - + extra for kneading
1/3 c. Wheat Germ
3 TBL Flaxseed
2 tsp (1 packet) of Instant Active Dry Yeast
Create a well in the center and add your liquid ingredients.


For Freezing-
Make your dough, allow it to rise the first time, punch the dough down and knead it until elastic as above but instead of placing it in a loaf pan to rise a second time, add it to a freezer bag. Try to get all of the air out of the bag, label it and place it in your freezer. When you're ready to use the bread, take it out of your freezer the night before, place it in your refrigerator to thaw and rise the second time and then bake it as above. It's that easy!

I'd love to hear back from any of you that try the recipe and any tips, tricks you may have! I hope your family enjoys it as much as mine does!
Love & Blessings!
Tiffany
No comments:
Post a Comment